

Most beginner musicians and bands struggle to find money to record their songs or album in a professional recording studio. However, if you want to build a career in the music industry or release your music online, having your own high-quality recordings is essentially important. If you are tight on a budget, you can compensate for this need by creating your own DIY recording studio.
While making a professional recording studio may be intimidating, creating a basic, at-home studio is pretty straightforward. Of course, this process requires a significant amount of time, money, and effort, but there is nothing impossible about that. We have gathered the simplest tips that don't require carpenter or technician's skills, or enormous amounts of money.
Find the Right Location
The first thing you should do is locate a convenient and accessible place in your home for your recording studio. Consider such factors when choosing one:
- Size. An at-home recording studio can be situated in a small or large room; there are no strict rules in terms of that. This room should just fit all equipment and instruments. However, if you are a member of a large band that consists of more than four members, you should clearly choose a larger area for your convenience.
- Ceiling. A ceiling should be at least 10 feet high. It will eliminate any possible issues with distortion.
- Noise level. Try to choose the quietest area in your home. Interior rooms are generally quieter than outer spaces.
- Climate. It's important to consider temperature and level of humidity since they influence the electrical equipment. Make sure to choose a damp-free room that always has a comfortable ambient temperature.
Seal the Space
The sound has the power to permeate even the tiniest crevices. This is detrimental for both the quality of the recording and for your neighbors or cohabitants. To avoid these problems, ensure your door doesn't have any crevices and, if possible, replace it with a new one. If not, sealing strips consisting of vinyl, foam, or rubber can be used.
Install Some Ventilation
Since a recording studio is a sealed space, it requires ventilation. Otherwise, you won't have sufficient oxygen to breathe, so it's critical that your studio has consistent airflow. There are two simple and inexpensive ways to do so:
- Acoustic box. Simply build or purchase an MDF box, insert an S-shaped duct to give airflow, and seal the rest with acoustic foam.
- Soundproof an existing vent. If the room is connected to the building's ventilation system, you can just soundproof it by hanging some curtain over the vent or using acoustic foam. The second option is more efficient.
Diffuse the Sound
Walls. The walls have a great impact on the sound. And if you are not happy with its quality, you may want to diffuse the sound. The simplest way to do so is to place soft types of furniture (like sofa, pillows, and so on) in the room. This will help eliminate an echo effect and make the sound of your music softer. Alternatively, you can also cover the walls with mineral wool insulation.
Floor. It's not recommended to have bare floors in a recording studio. Carpeted floors help diffuse sound as well and don't absorb low-frequency sounds. Moreover, if you choose a white or bright carpet, you will be able to see all the wires and cables clearly and won't trip over them.
Choose a Recording Software (DAW)
Most recording software alternatives, often known as DAWs (Digital Audio Workstations), are now available on a subscription basis. There are three most popular and prestigious DAWs:
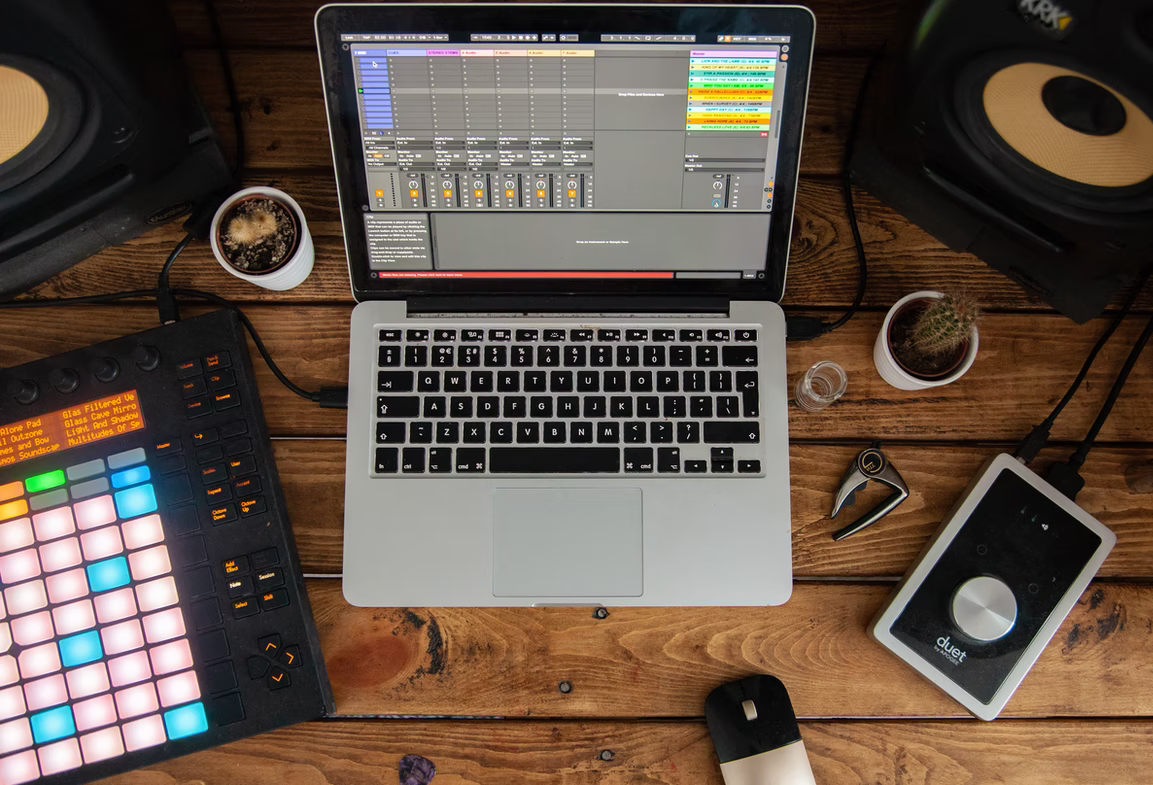
Ableton Live
This DAW is industry-standard and has a user-friendly interface that is ideal for beginners. It offers a wide array of functions, including thousands of sounds and samples to choose from, as well as dozens of virtual instruments effects. It's recommended for those who want to experiment with sound.
ProTools
It's a professional studio-grade software and is among the most expensive ones. It contains plugins and effects that allow shaping the sound the way you want it, making it easy to improve your compositions. It also has a well-understood interface.
GarageBand
This is the most popular choice among MacBook owners. It's very similar to ProTools, but it's free for any Apple device. However, GarageBand is simpler and doesn't have so many functions.
Equipment List
- Computer
Preferably, it's better to buy a computer designed specifically for recording. However, in fact, you can use any PC or laptop that allows you to record, edit, mix, and work with your DAW. It's best to choose a large display, preferably two, for more ease when working with the DAW. You can also connect two or more laptops or connect a second monitor to your laptop.
- Headphones
You'll need professional-grade headphones that don't leak sound. In this case, you shouldn't spare money.
- Microphones
In professional recording studios, only condenser and dynamic microphones are used. Dynamic ones are more durable and can accept very loud sound pressure levels, so they are used in studios with drums or guitar amplifiers. Condenser mics are the most commonly used in most studios, particularly for recording acoustic instruments. Dynamic microphones offer a wider frequency response, better sensitivity, and faster transient response.
- Monitor speakers
Monitor speakers may pick up on frequencies that average speakers cannot. This enables correct EQ and mixing of tracks.
- Interface
To plug your amps, drums, microphone, or keyboard into your computer, you'll need an interface with several XLR jacks.